Client Portal User Manual
Welcome to the CA Flow user manual. This document guides you step-by-step through all features available inside the Client Portal—including dashboard metrics, client records management, multi-year ITR/GST uploads, family groupings, and staff read-only security parameters.
Getting Started
The Client Portal allows CA firms and authorized operators to log in and manage taxpayer accounts, upload directories, and process billing states. Once records are updated here, the WhatsApp bot automatically delivers files directly to verified incoming phone numbers.
Secure Credential Authentication
Each tenant has a customized subdomain login route (e.g., /[slug]/login). Input your registered email and passcode. Use the eye button toggle on the field to verify password accuracy before hitting sign-in.
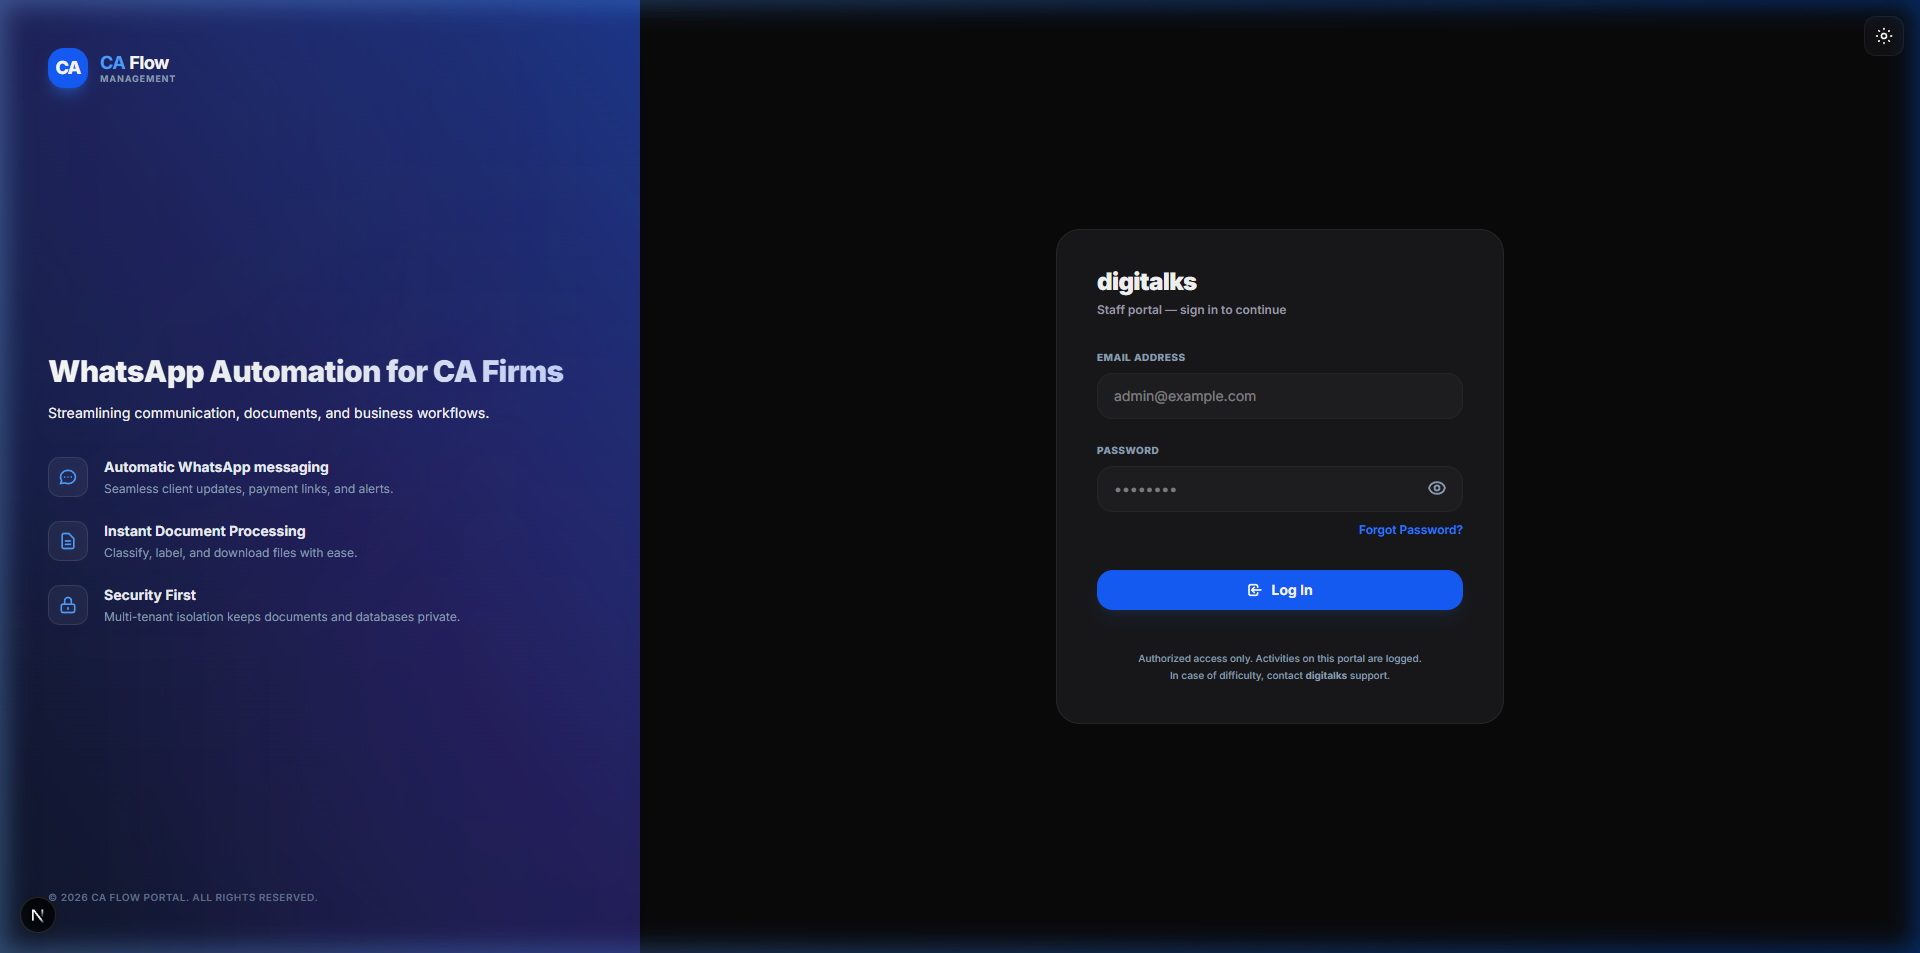
Figure 1.1: Tenant login page. Fill in credentials and toggle password visibility for correct entries.
Dashboard Overview
Upon authentication, the dashboard maps high-level metrics tracking total clients, family members, uploaded document volume, and pending payment alerts.
- Total Stats CardsAudit active client counts and total index document storage.
- Quick ShortcutsFast redirect options to launch client registration or search.
- Activity TrackingMonitor recent documents matching incoming WhatsApp query requests.
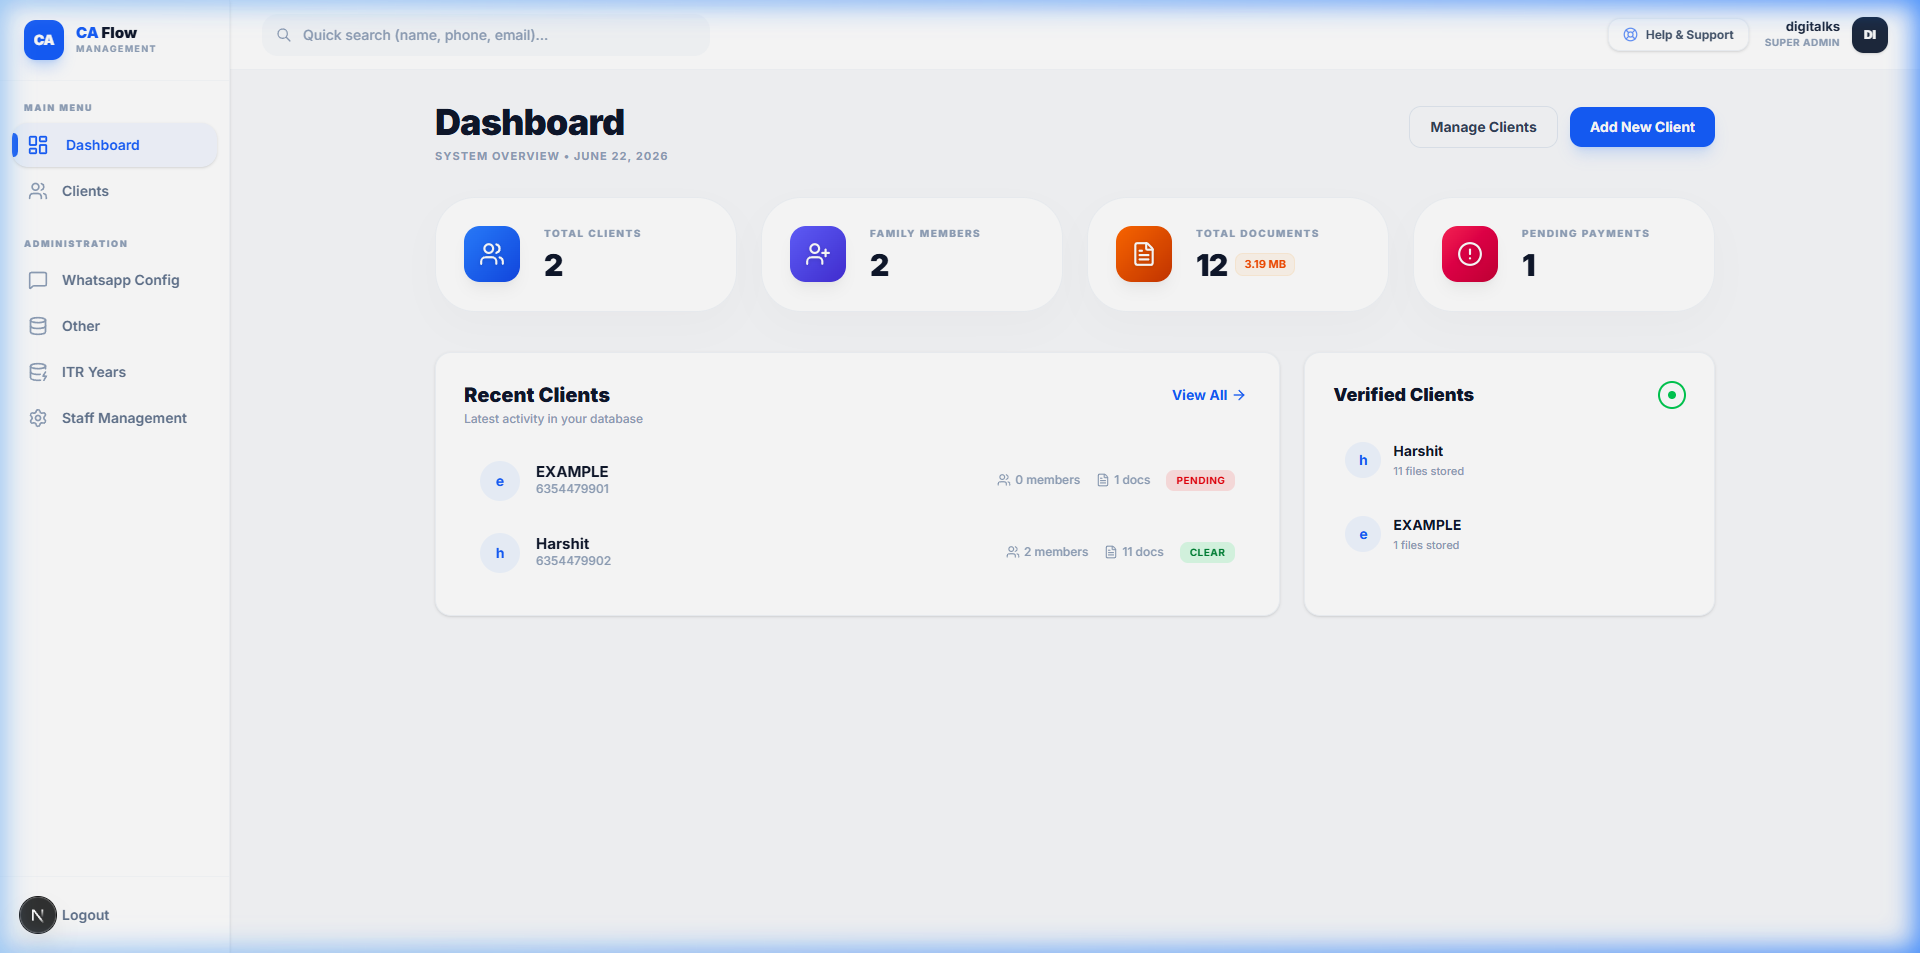
Figure 1.2: Client portal dashboard analytics, active taxpayer totals, and operational shortcuts.
1. Client Management
The Client Management workspace acts as the core registry for tracking registered taxpayers under your firm. CAs can search clients, toggle bot auto-delivery status, verify billing payments, and register new phone numbers.
Provisioning & Previewing New Clients
To add a new taxpayer, click the + Add Client button at the top right of the client management page. This launches the client registration dialog preview shown below.
Required Info:
- Full Name: Up to 22 characters for display.
- WhatsApp Phone: The client's active 10-digit number.
- Email: Optional notification email address.
Default Settings:
- Payment Status: Choose Pending or Clear.
- Service: Enabled (ON) or Disabled (OFF) to toggle bot access.
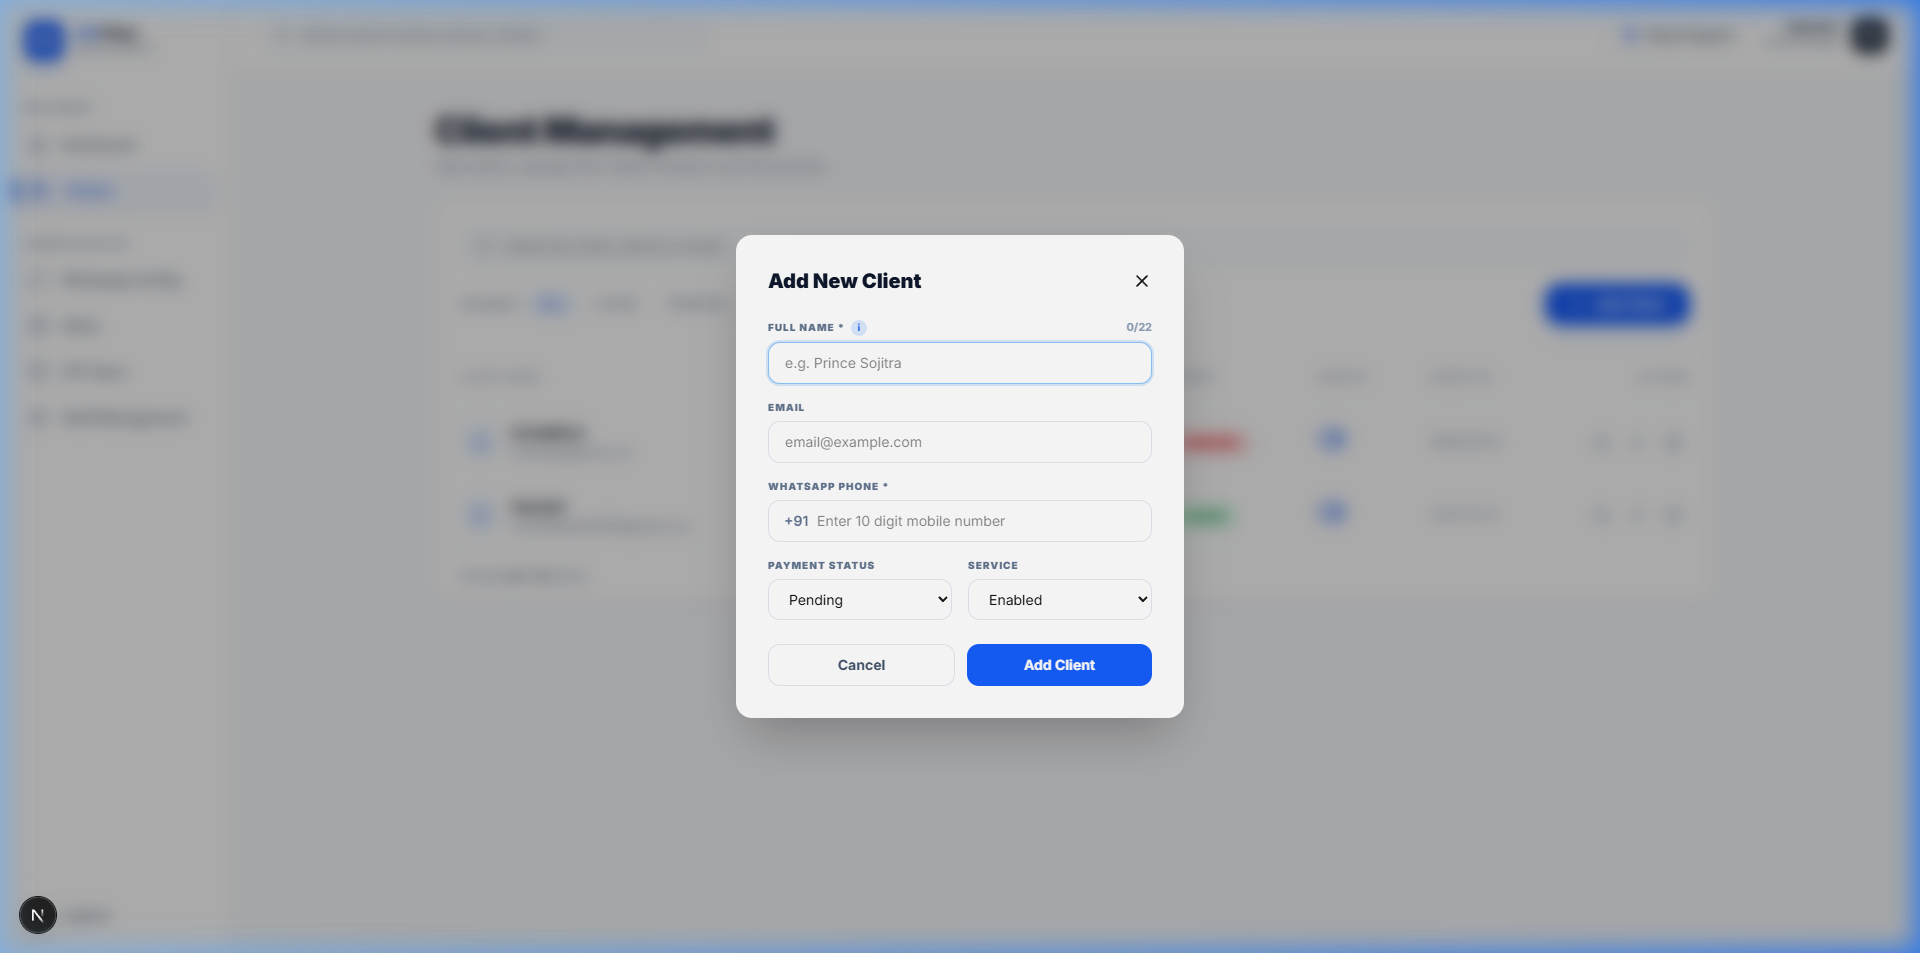
Figure 1.3: Client provisioning form to map phone numbers and configure service settings.
Accessing Client Profile via the Eye Button
In the main client registry list, click the Eye (👁️) Button on the right-hand side of any client record. This opens the detailed client profile panel, where you can view uploaded documents and configure family members.
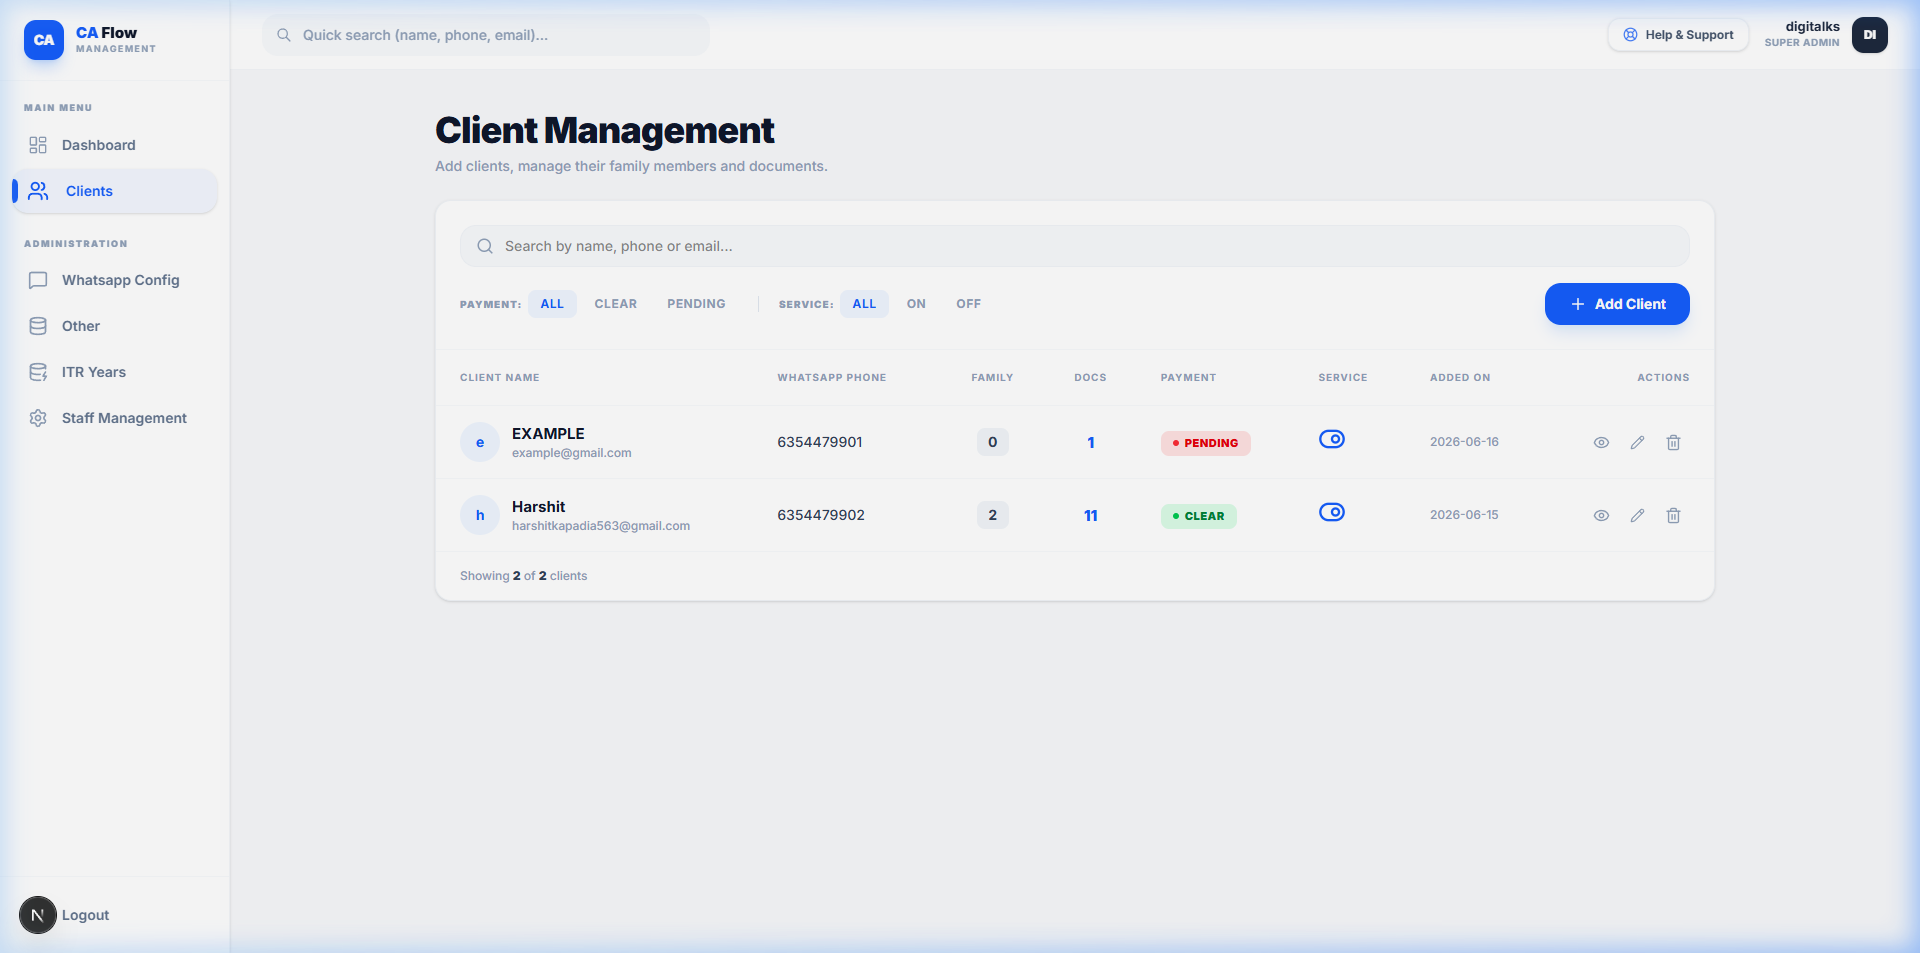
Figure 1.4: Client registry list. Click the eye button in the actions column to navigate to the individual client dashboard.
2. Client Details, Documents & Family Members
Inside the client's profile page, the dashboard is segregated into two primary tabs: Documents (default view) and Family Members.
Uploading and Viewing Client Documents
The Documents Tab houses the client's direct file vaults categorized by slots (e.g., PAN Card, Aadhaar Card, GST certificates, and ITR years). CAs can upload new files which are then instantly retrievable by the client over WhatsApp.
How to upload:
Click Upload in the documents bar, choose the target file (PDF, PNG, JPG), select the matching category/year slot, and submit. The file immediately binds to the database and becomes available for WhatsApp retrieval.
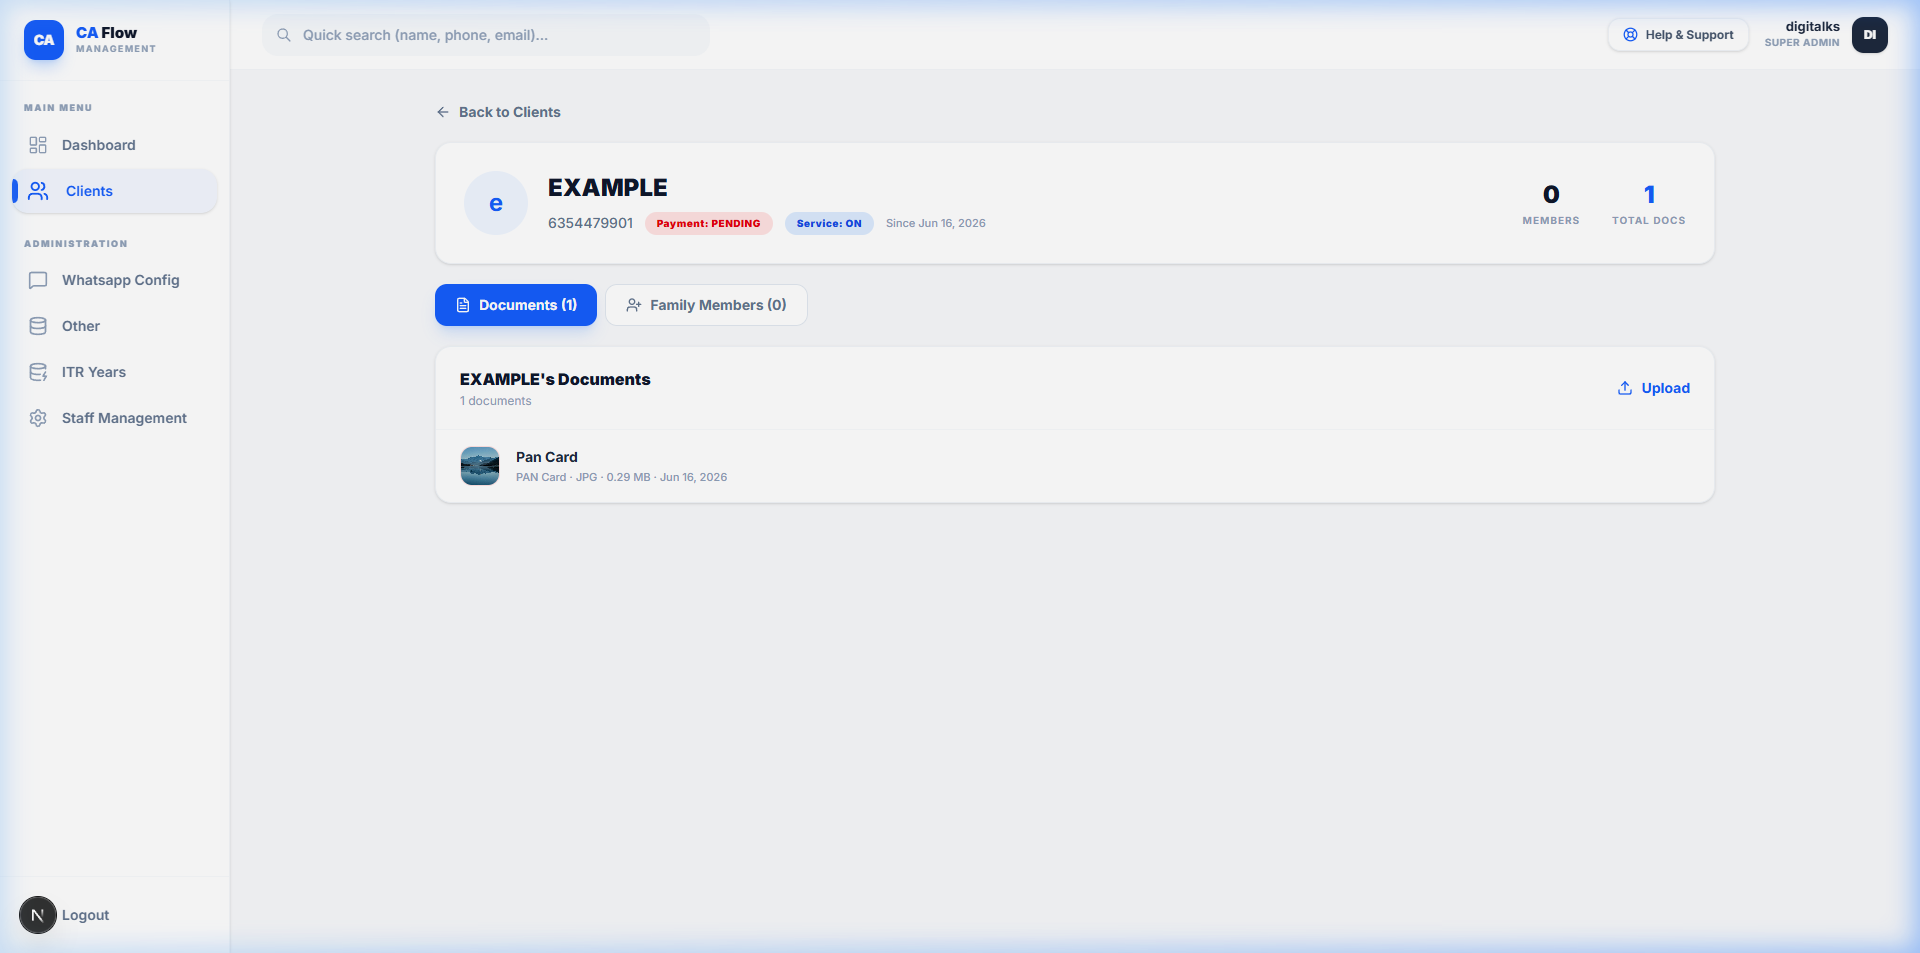
Figure 1.5: Client document repository list with file formats and sizes.
Family Members Grouping & Document Uploads
The Family Members Tab allows you to bundle several related taxpayers under a single primary account. This ensures a family group can request any mapped relative's documents through the phone number of the primary account.
Add Family Member:
Click Add Family Member, enter their full name (e.g. spouse, child, parent), and hit submit to add them to the list.
Upload Family Docs:
Expand any family member row by clicking the chevron down button. Click Upload inside their card to add documents (PAN, Aadhaar) specific to that family member.
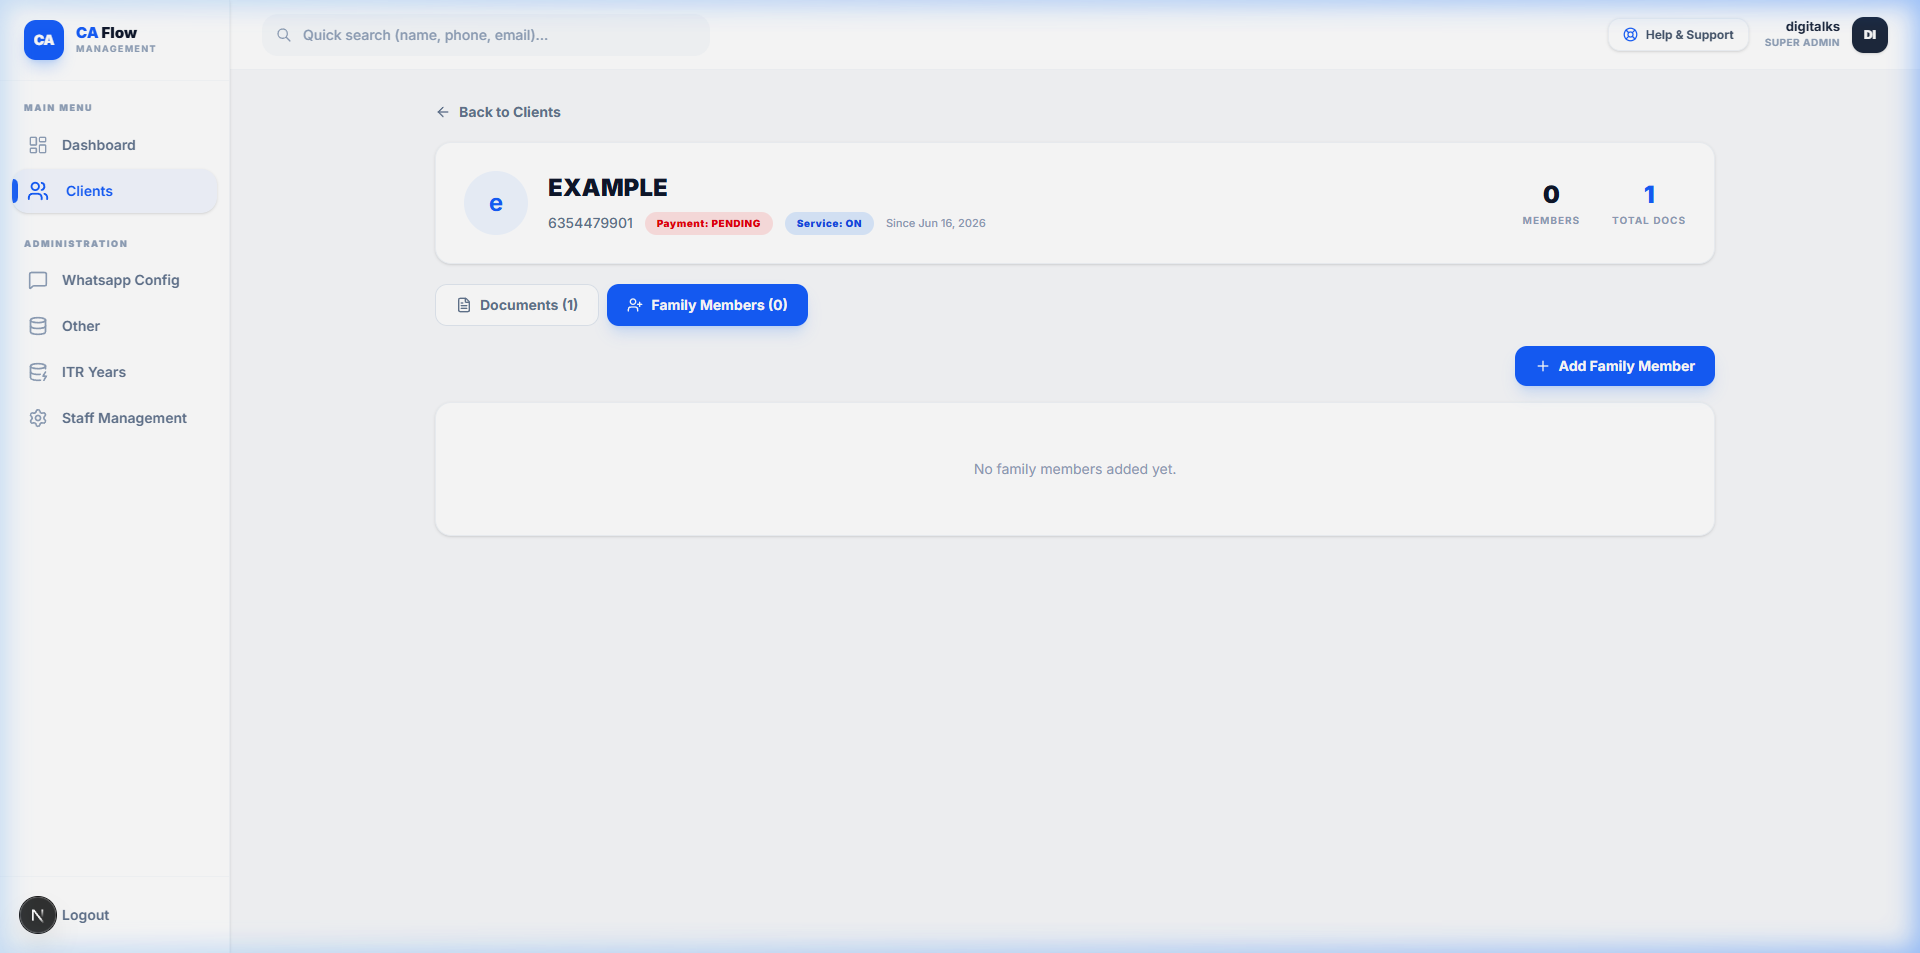
Figure 1.6: Family members interface. Chevrons expand the individual rows to display and upload member-specific files.
Staff Configuration
Administrators can configure staff operator accounts. Staff accounts can log in using their own emails and passcodes. By design, staff operators have read-only access to clients, documents, and logs—preventing unauthorized file modifications or deletions.
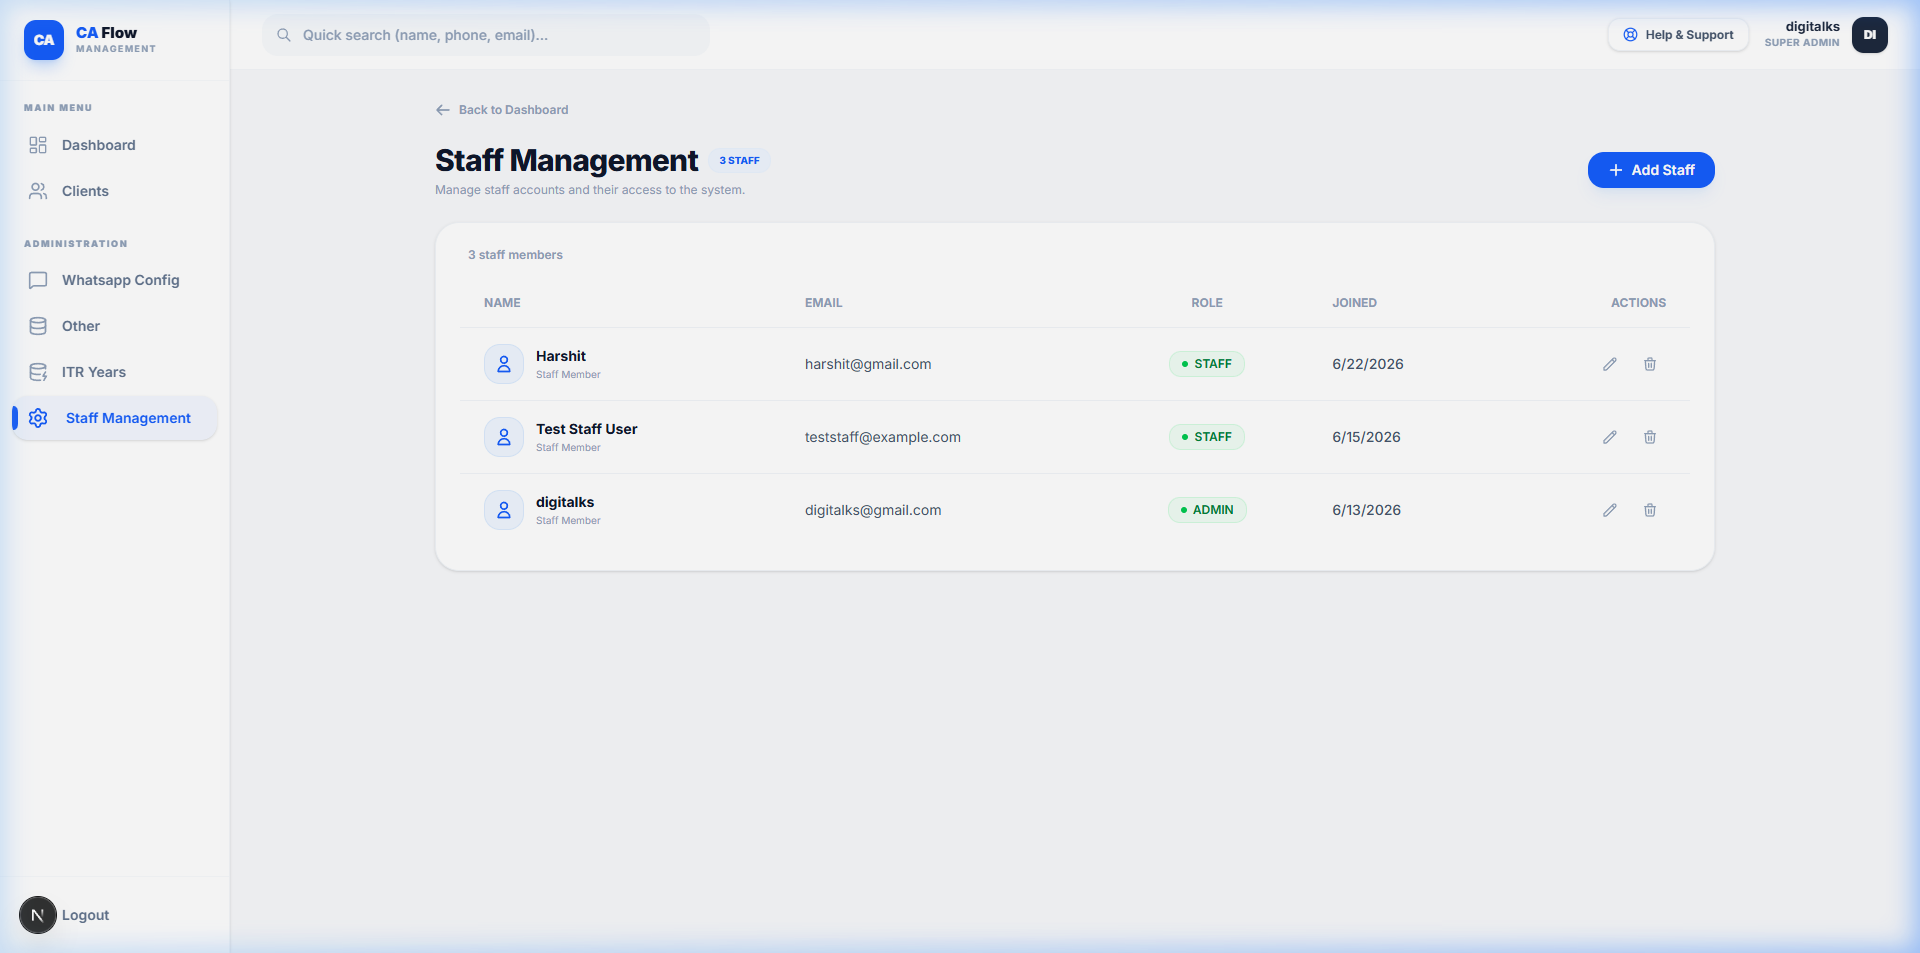
Figure 1.7: User access roles panel. Staff members can only retrieve records, preserving document integrity.
Help & Support (Tickets)
If you encounter issues or require technical support, the **Help & Support** link is accessible in the header. Clicking it navigates to the tickets portal where you can submit support requests to Superadmin operators and track their resolutions.
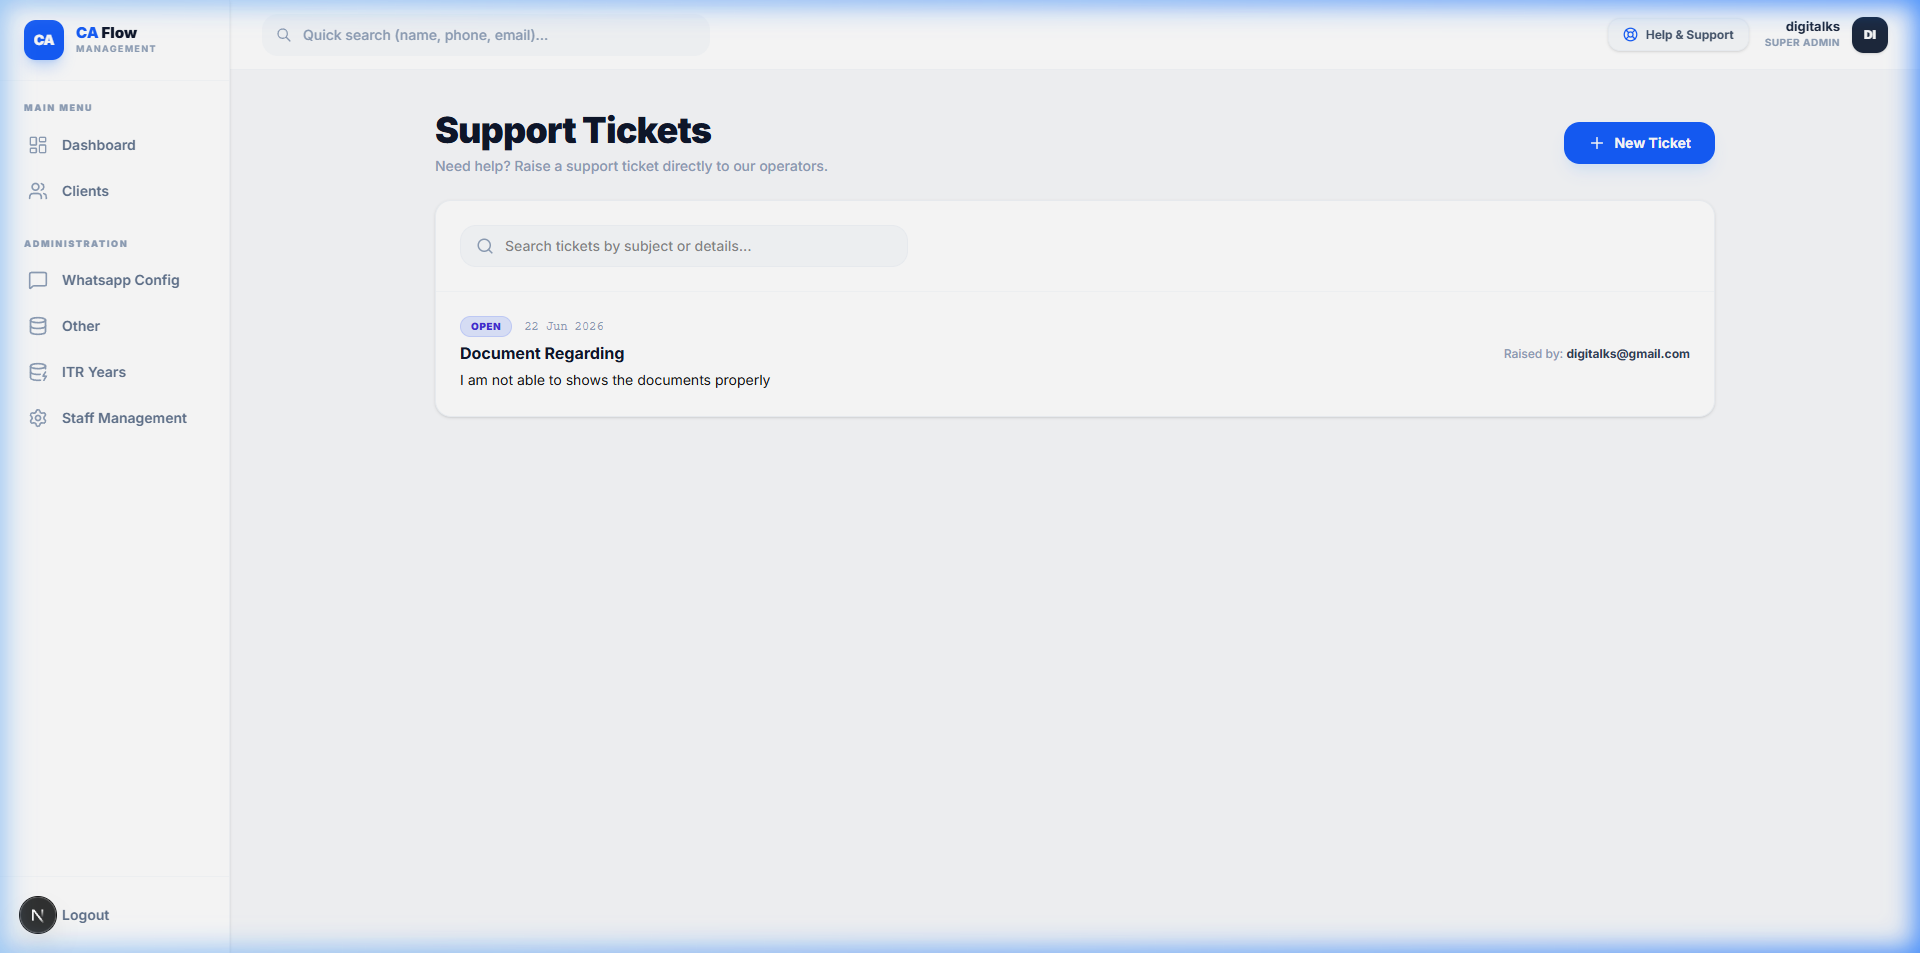
Figure 1.8: Help & Support tickets center. Submit technical support requests directly to our systems team.